How to light a cigar. Lighting up a cigar is an art form, and getting it right can make all the difference in the smoking experience. While there is no one-size-fits-all approach to lighting up a cigar, there are a few key steps you can follow to ensure that you do it correctly. In this guide, we will break down the process of lighting up a cigar into seven major steps.
Step 1: Select the Right Cigar
Before you light up your cigar, it’s essential to select the right one. The quality of the cigar will affect how well it burns, the flavor, and the overall smoking experience. Choose a cigar that is well-constructed, with a smooth wrapper and a firm feel. Check for any cracks or other imperfections that could cause problems during lighting or smoking.
Step 2: Cut the Cigar
The next step is to cut the cigar. There are several types of cigar cutters available, including guillotine cutters, punch cutters, and V-cutters. Whatever type of cutter you use, the goal is to create a clean, even cut on the end of the cigar that you will be lighting. Avoid cutting too deep, which can cause the cigar to unravel, and be sure to remove the cap, which is the small piece of tobacco that covers the head of the cigar.
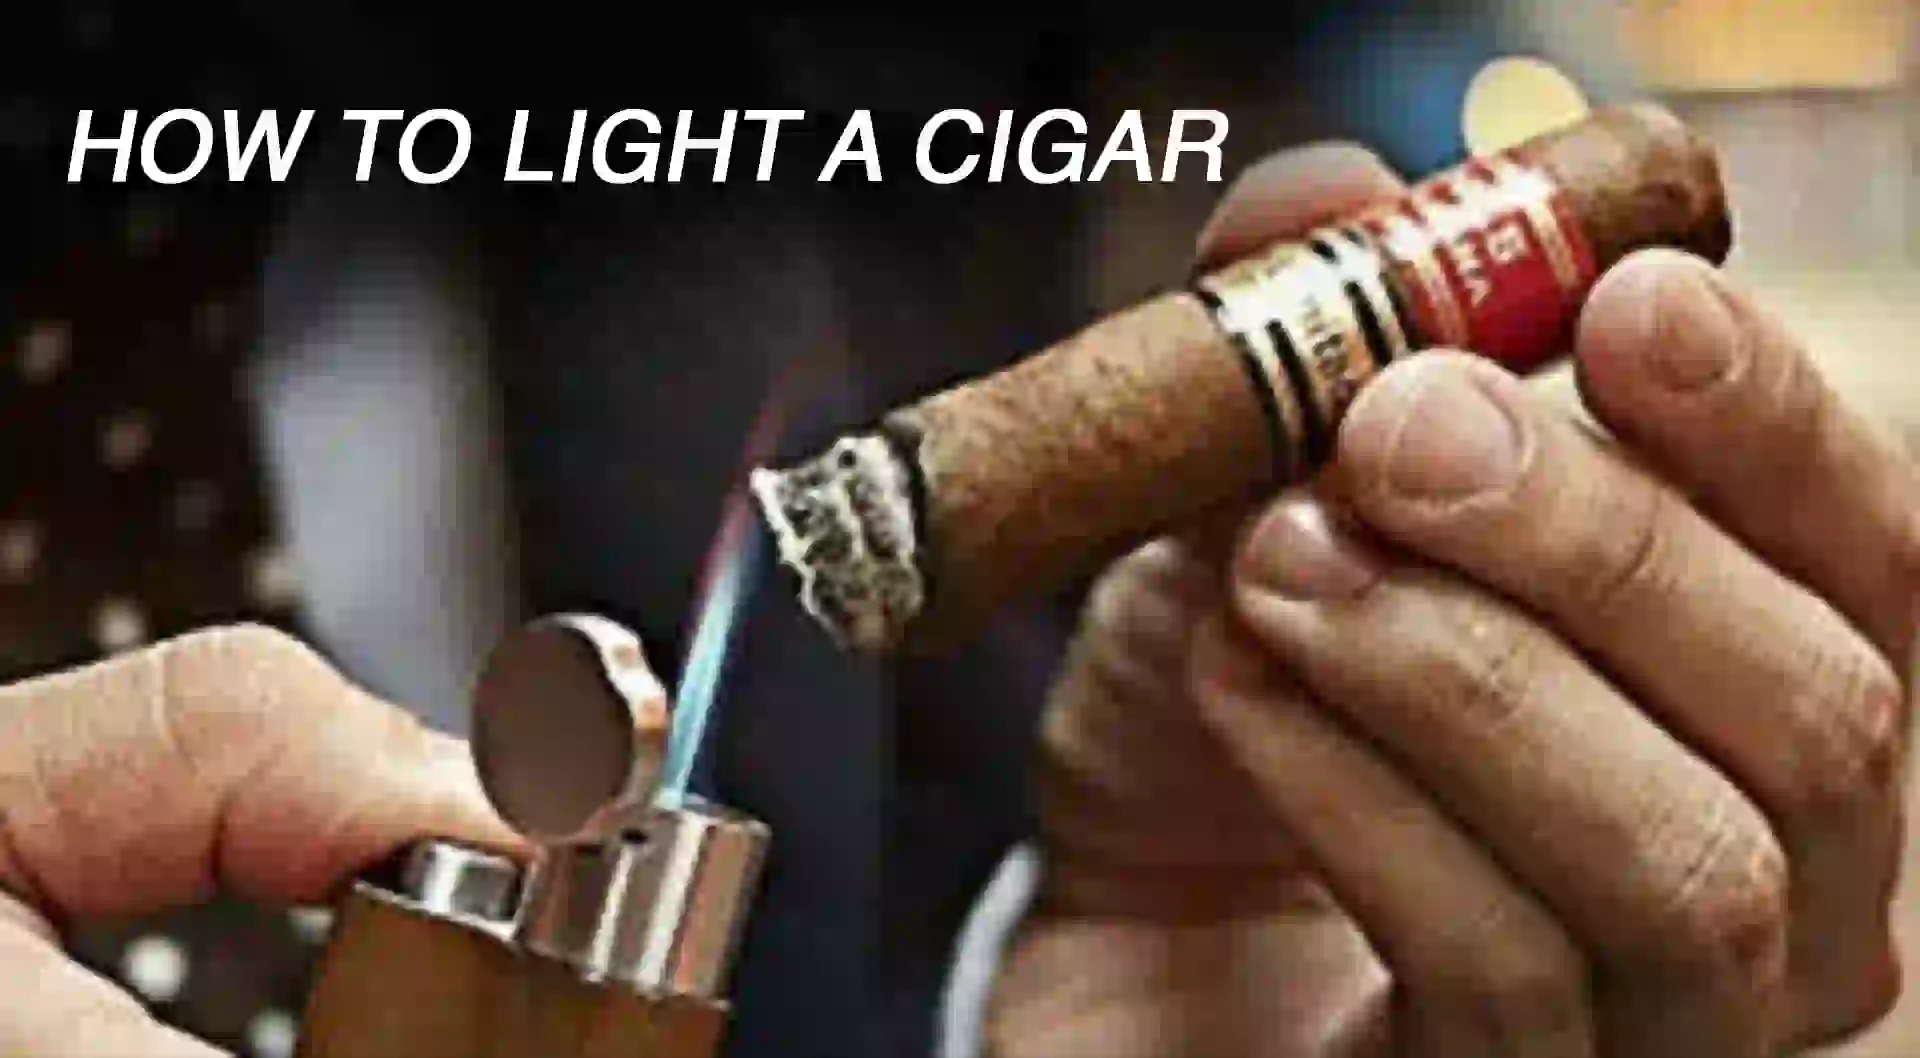
Step 3: Toast the Foot
Once you have cut the cigar, it’s time to toast the foot. Hold the cigar horizontally at a 45-degree angle and place the foot of the cigar over the flame of a lighter or a match. It’s essential to use a butane lighter or wooden match instead of a regular lighter or a candle, as these can affect the flavor of the cigar.
Rotate the cigar slowly, so that the entire foot is toasted evenly. Avoid touching the cigar with the flame, as this can cause the tobacco to burn too quickly or unevenly.
Step 4: Light the Cigar
Once the cigar is toasted, it’s time to light it up. Place the cigar in your mouth and continue holding it at a 45-degree angle. Hold the flame just below the foot of the cigar and draw on the cigar while rotating it slowly. You should see the flame move towards the foot of the cigar, and the tobacco will begin to ignite.
It’s essential to take your time during this step and avoid rushing the process. Puff on the cigar slowly and let the flame move gradually towards the end of the cigar. Avoid lighting the cigar too quickly, as this can cause it to burn too hot and affect the flavor.
Step 5: Blow on the Cigar
Once the cigar is lit, it’s essential to blow on the foot of the cigar to make sure the burn is even. If any areas appear unlit, touch them up with the lighter or match. It’s important to avoid using too much heat, as this can cause the tobacco to burn too quickly or unevenly.
Step 6: Enjoy the Cigar
Now that your cigar is lit, it’s time to enjoy it. Take your time to savor the flavor and aroma of the cigar. Puff on the cigar slowly and let the smoke linger in your mouth before exhaling. You can also rotate the cigar as you smoke it to ensure an even burn.
It’s essential to avoid rushing the smoking process, as this can affect the flavor and overall experience. Sit back, relax, and enjoy the moment.
Step 7: Properly Extinguish the Cigar
Once you have finished smoking your cigar, it’s essential to properly extinguish it. Don’t stub it out like a cigarette, as this can cause the tobacco to become overly hot and release unpleasant flavors. Instead, let the cigar burn out on
You May Also Like :